
Overview
In order to use OKTA, you will need to set up and configure an application in your OKTA account then Sonar will need to finish the configuration with your generated client ID and company-specific sign-in URI.
Setting Up Okta
- Open the OKTA admin panel and navigate to Applications
- Next, click on Create App Integration
- Select OIDC - OpenID Connect and Single-Page Application then click Next

- Once the App is created you will need to configure the application settings
- Application Name: Sonar
- Grant type:
- Authorization Code
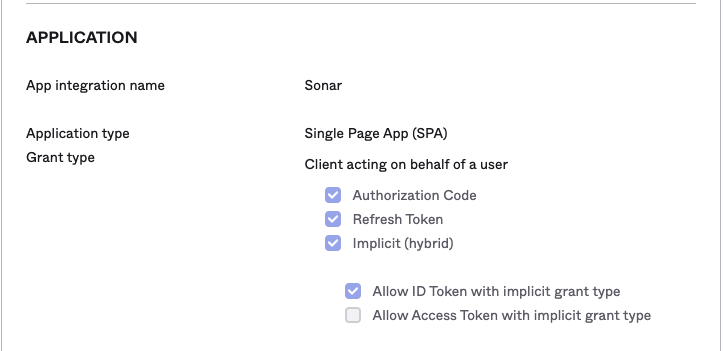
- Authorization Code
- Sign-in redirect URI: https://{companyname}.seesonar.com/integrations/oidc (here, use your companies name)
- Sign-out Redirect URIs: Leave Blank
- Trusted Orignis: Either Okta or App
- Initiate login URI: https://{companyname}.seesonar.com
- Controlled Access: Allow everyone in your organization to access (typically, but this may change according to who you want to give access to)
- Review the setting then click Save
- Within the newly created Sonar Application, click on the General tab then copy the Client ID
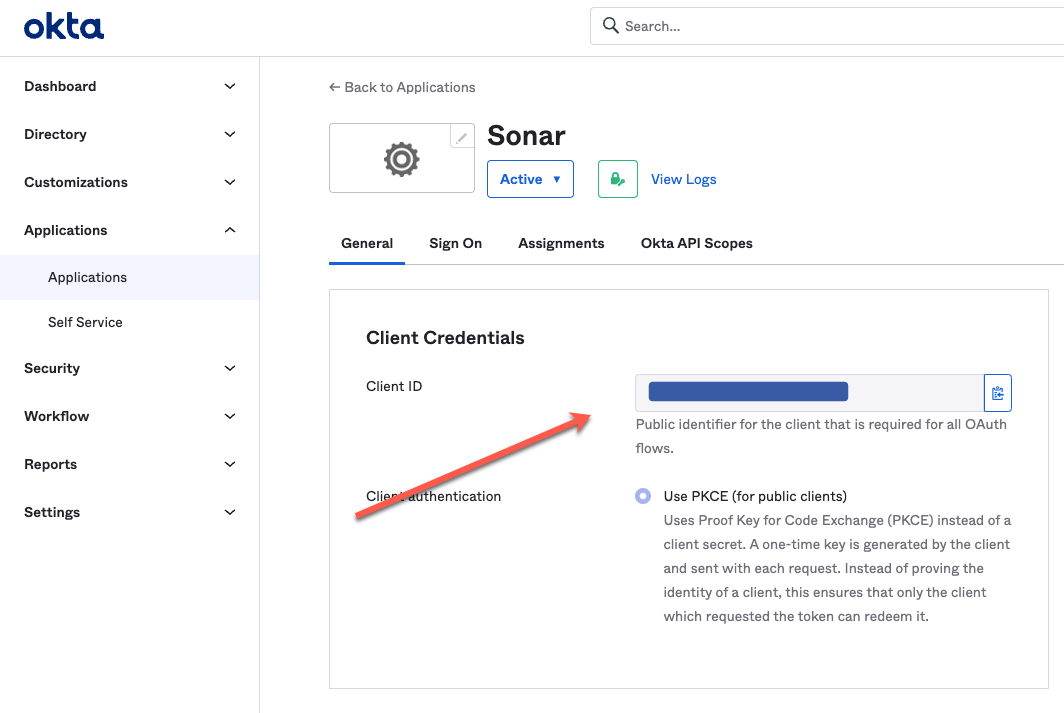
- Next, send your Okta domain and Client ID to your Customer Success Manager or Sonar support (support@seesonar.com)
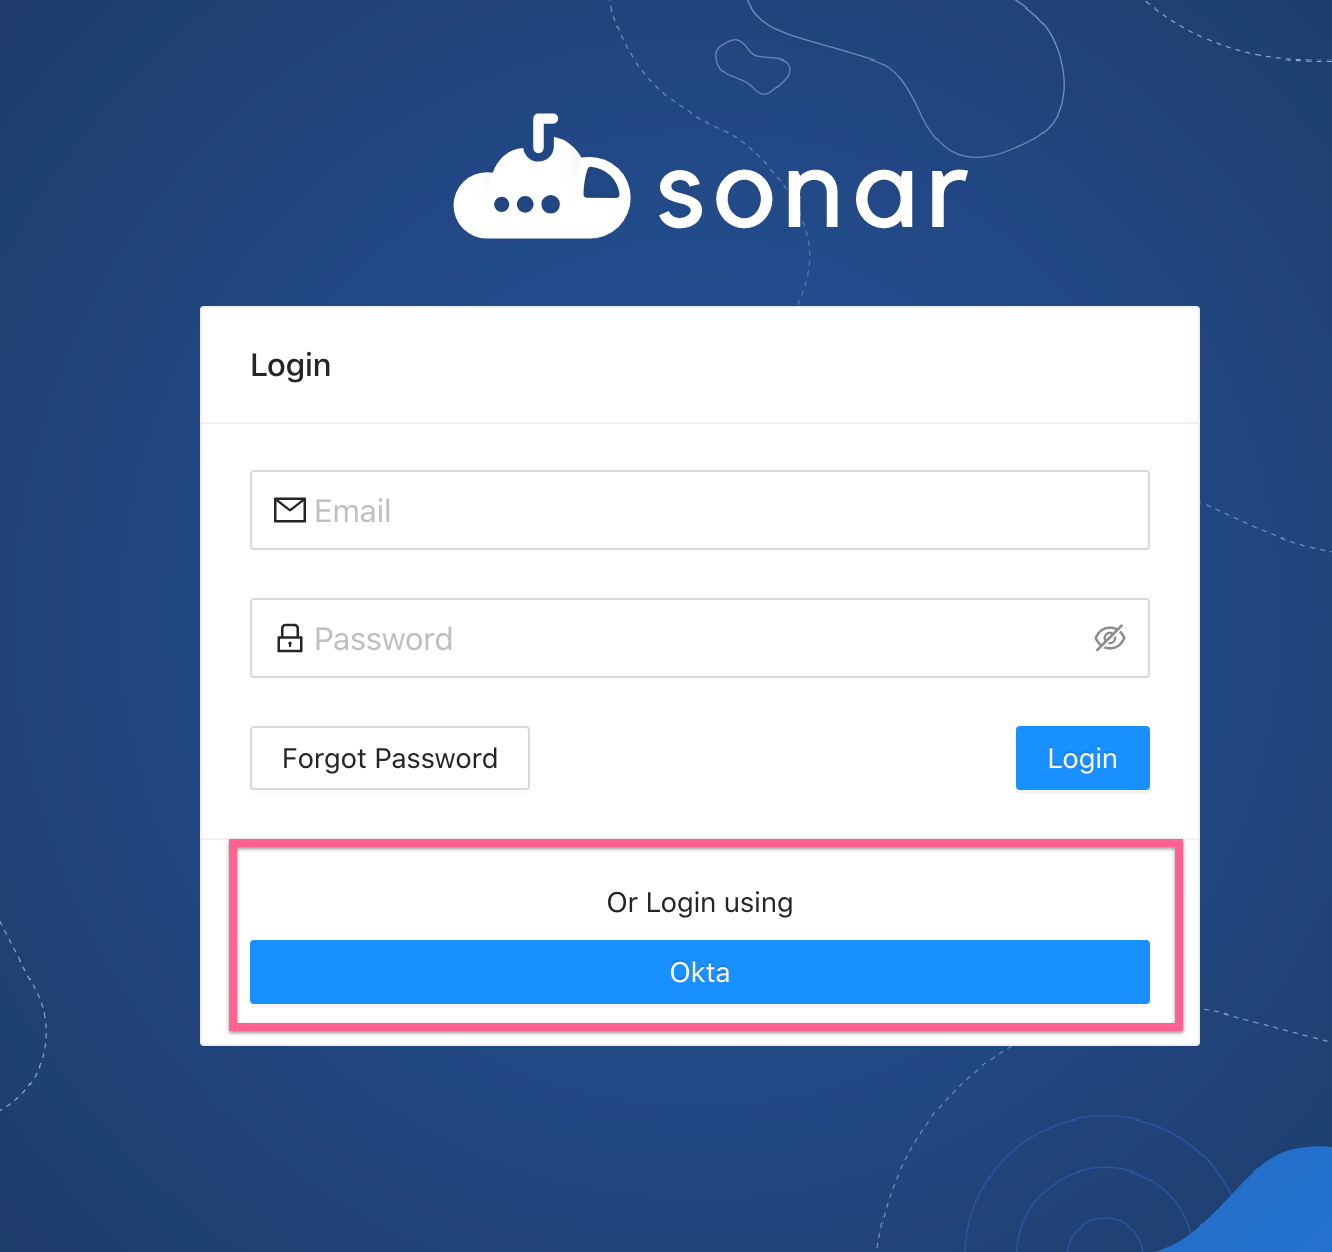
Using Okta
Once Sonar has received your Sign-in URI and client ID we will complete the configuration and your team will be able to log in using OKTA at your specific domain.

Comments
0 commentsArticle is closed for comments.